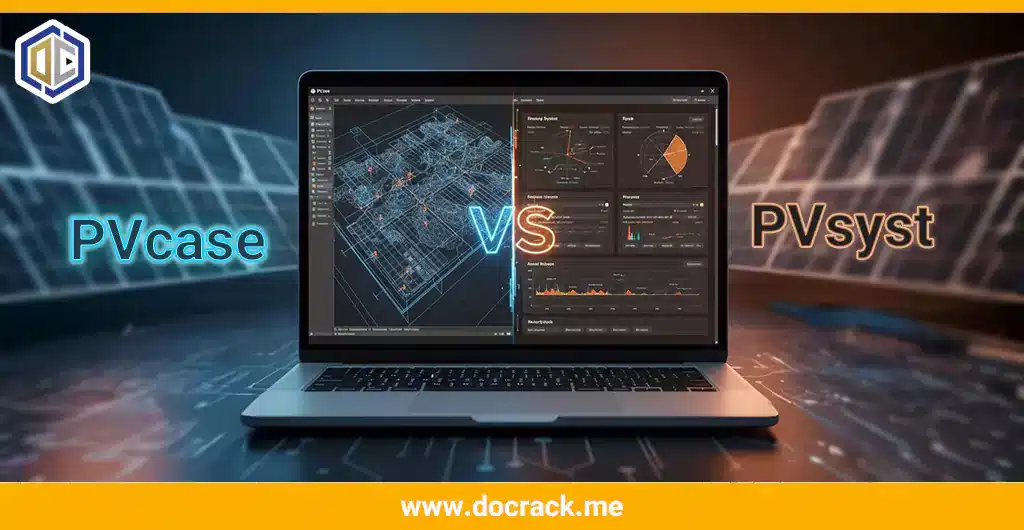
In the rapidly evolving world of solar energy, efficiency is everything. For engineers designing utility-scale photovoltaic plants, two names dominate the market: PVcase and PVsyst. While they are often mentioned in the same breath, they serve fundamentally different purposes in the solar design workflow.
Are you struggling to decide which one to master first? Or perhaps you are wondering if one can replace the other? In this comprehensive comparison of PVcase vs. PVsyst, we will break down their core features, use cases, and how they actually work together to create a seamless engineering pipeline.
The Fundamental Difference: Layout vs. Simulation
To put it simply: PVcase is for building the site, while PVsyst is for calculating the energy.
-
PVcase is an AutoCAD-based plugin designed for physical site layout and civil engineering. It handles the terrain, the placement of rows, and the electrical stringing.
-
PVsyst is a simulation engine used to predict the energy yield (MWh) and perform financial analysis based on meteorological data and shade losses.
Detailed Feature Comparison
1. Terrain and Civil Engineering (Winner: PVcase)
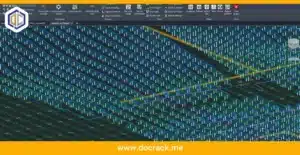
One of PVcase’s biggest strengths is its ability to handle complex topography. It allows engineers to follow the slopes of the land, adjusting the height and tilt of each table automatically. While PVsyst has a “3D Scene” for shading, it is not a civil engineering tool. Designing a 100MW plant on a hilly site is nearly impossible without PVcase.
2. Energy Yield & Bankability (Winner: PVsyst)
When it comes to securing funding for a solar project, banks and investors demand a PVsyst Report. It is the industry standard for “bankable” yield predictions. It accounts for complex variables like PAN file parameters, inverter efficiency curves, and IAM losses—features that PVcase does not focus on.
3. Speed and Automation
-
PVcase: Excels at automating the placement of thousands of modules and calculating cable lengths in minutes.
-
PVsyst: While its simulations are fast, building a detailed 3D shading scene manually inside PVsyst can be tedious and time-consuming.
The Modern Workflow: Exporting PVcase to PVsyst
In professional engineering firms, it’s not about choosing one over the other; it’s about the integration. The most efficient workflow in 2025 looks like this:
-
Step 1: Use PVcase in AutoCAD to create a precise 3D layout that follows the terrain and optimizes ground coverage.
-
Step 2: Use the “Export to PVsyst” feature in PVcase to generate a
.VC2or 3D shading file. -
Step 3: Import that file into PVsyst to perform the final energy simulation.
This integration eliminates the need to redraw the site twice, reducing human error and saving days of work.
Pricing and Accessibility
Both softwares are premium professional tools. For many freelancers and small firms, the cost can be a barrier. That is why many users visit resources like [Docrack’s Solar Software Collection] to access stable versions and learn the installation process before committing to full corporate licenses.
Which One Should You Choose?
-
Choose PVcase if: You are primarily a CAD designer, civil engineer, or site planner focused on the physical layout and BOM (Bill of Materials).
-
Choose PVsyst if: You are a performance engineer, financial analyst, or consultant focused on energy yield reports and “P50/P90” probability analysis.
Conclusion
In the battle of PVcase vs. PVsyst, there is no single winner—only a winning team. PVcase provides the high-precision “skeleton” of the project, while PVsyst provides the “intelligence” and energy predictions. Mastering both will make you an invaluable asset in the solar industry.
Ready to start designing?
-
Download the latest [PVcase Ground Mount for AutoCAD].
-
Get the industry-standard [PVsyst 8 Professional].
Have you tried the integration between these two? Share your experience in the comments below!
To purchase the software or inquire about professional licensing and support, please contact us:
Telegram: t.me/DoCrackMe
Phone: +989368059613