PVcase for AutoCAD: Top Features for Utility-Scale Solar Design (2026)
As the global transition to renewable energy accelerates, solar engineers are under immense pressure to design larger, more complex photovoltaic systems in less time. Traditional manual drafting in AutoCAD is no longer sufficient for utility-scale projects. This is where PVcase comes in—a powerful plugin that transforms AutoCAD into a specialized solar engineering workstation.
In this guide, we explore the top features of PVcase for AutoCAD and why it has become the “gold standard” for solar site design in 2026.
Why Choose PVcase Over Traditional CAD Drafting?
The primary challenge in utility-scale solar is terrain adaptation. Manual calculations for shading, row spacing, and cabling on uneven ground can take weeks and are prone to human error. PVcase automates these processes within the familiar AutoCAD environment, allowing for real-time adjustments and high-precision layouts.
By using PVcase, engineers can:
-
Reduce Design Time: What used to take days can now be completed in hours.
-
Increase Energy Yield: Better terrain follow-up means more modules in the same area.
-
Minimize Material Costs: Precise cabling and racking reports prevent over-ordering.
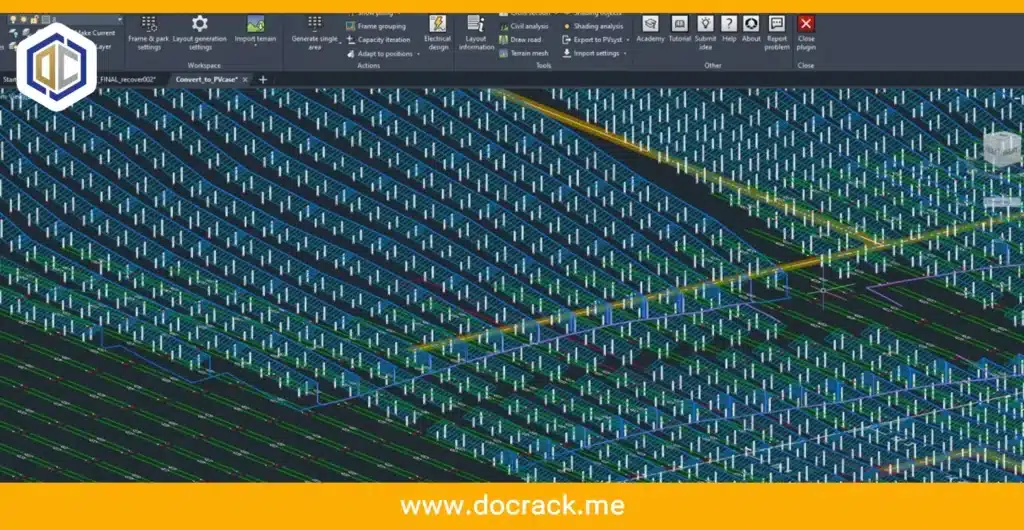
Key Features of PVcase Ground Mount
PVcase is divided into several modules, but the Ground Mount tool is the most sought-after by Docrack users. Here are the standout features:
1. Advanced Terrain Following Algorithm
PVcase allows you to import high-resolution topography data. The software automatically adjusts the racking height and tilt based on the slopes of the land. This is crucial for avoiding collisions and ensuring that the structural integrity of the mounting system is maintained across a variable site.
2. Shading Analysis & Row Spacing
Unlike basic CAD tools, PVcase calculates inter-row shading based on the sun’s path and the specific tilt angle of your modules. It provides a visual heat map of shading losses, helping you find the perfect balance between ground coverage ratio (GCR) and energy production.
3. Automated Stringing & Cabling
Cabling is often the most tedious part of solar design. PVcase automates the stringing process based on your electrical requirements. It generates a full Bill of Materials (BOM) including cable lengths and combiner box locations, which can be exported directly to Excel.
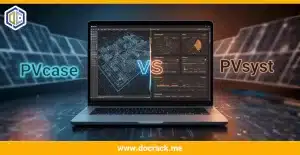
PVcase vs. PVsyst: Do You Need Both?
A common question in the Docrack community is whether PVcase replaces PVsyst. The short answer is: No, they complement each other.
-
PVcase is for Physical Layout: It helps you build the 3D model, place the modules, and handle the site engineering in AutoCAD.
-
PVsyst is for Yield Prediction: It takes the layout from PVcase and runs a sophisticated simulation to predict how many megawatt-hours (MWh) the plant will produce annually.
Pro SEO Tip: Most professional workflows involve designing the site in PVcase and then using the Export to PVsyst feature to finalize the energy yield reports.
How to Get Started with PVcase Ground Mount
To start using these features, follow these basic steps after installing the software:
-
Define Site Boundary: Use a closed polyline in AutoCAD to mark your project area.
-
Import Topography: Load your CSV or DWG terrain data.
-
Configure PV Tables: Set your module dimensions, rows per table, and tilt angle.
-
Generate Layout: Use the “Generate” button to watch PVcase populate the site while respecting setbacks and exclusion zones.
Troubleshooting PVcase Installation in AutoCAD
If you are using the version provided by Docrack and encounter issues, check the following:
-
AutoCAD Version Compatibility: PVcase usually supports AutoCAD 2020 through 2024. Ensure your base CAD version is compatible.
-
License Error on Startup: If the PVcase tab doesn’t appear, ensure you have followed the activation steps correctly in our [Software Installation Guide].
-
Graphics Performance: Since PVcase handles thousands of 3D objects, ensure “Hardware Acceleration” is turned ON in AutoCAD settings.
Conclusion
PVcase is not just a plugin; it is an essential tool for any solar engineer serious about utility-scale projects. From terrain following to automated cabling, it removes the guesswork from solar design. By integrating PVcase with PVsyst, you create a seamless workflow from site plan to bankable yield report.
To purchase the software or inquire about professional licensing and support, please contact us:
Telegram: t.me/DoCrackMe
Phone: +989368059613